


Webmail is a convenient way to access your emails from anywhere without needing an email client like Outlook or Thunderbird. One of the most useful features of Webmail is the ability to add a personalized email signature. Adding a signature to your emails can help give them a professional touch and make it easier for your recipients to find your contact details.
In this blog post, we’ll guide you through the process of adding a signature to your Webmail account, step-by-step.
Table of Contents
Why Add a Signature in Webmail?
An email signature is a block of text that is automatically inserted at the bottom of every email you send. It usually contains the sender’s name, job title, company, and contact information. Here are a few reasons why adding a signature to your Webmail is essential:
- Professionalism: A signature gives your emails a more polished and professional appearance.
- Branding: Adding your company logo or brand colors to your signature can reinforce your business identity.
- Contact Information: It provides an easy way for recipients to get your contact details without searching for them.
- Legal Compliance: Some industries require that email signatures include legal disclaimers or regulatory information.
Prerequisites
Before adding a signature in Webmail, make sure:
- You have access to your Webmail account.
- You have the content for your signature ready, such as your name, title, contact information, and any graphics (like a logo).
Step-by-Step Guide to Adding a Signature in Webmail
Step 1: Log in to Your Webmail Account
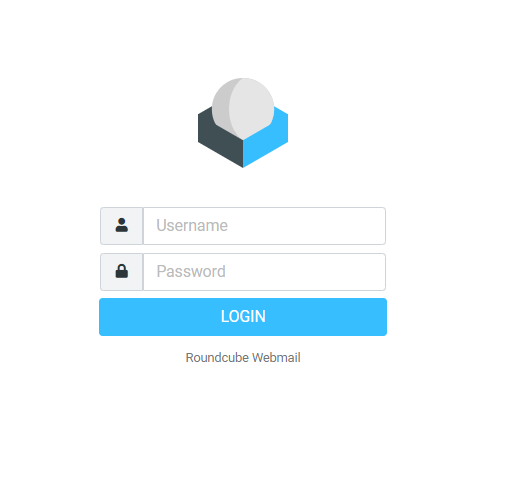
The first step is to log in to your Webmail account using the URL provided by your hosting service or email provider. Typically, this will look something like this: https://webmail.yourdomain.com.
Once there, enter your email address and password to access your inbox.
Step 2: Access Webmail Settings
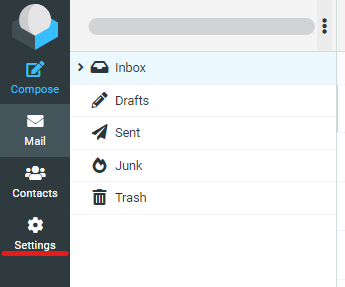
Once you’re logged in, locate the settings menu. This might differ depending on the Webmail interface you’re using (such as Roundcube, Horde, or SquirrelMail). Look for settings or preferences, often represented by a gear icon or under a “Settings” option in the main menu.
Step 3: Navigate to the Signature Settings
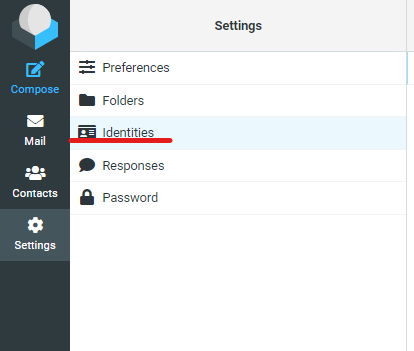
Once inside the settings, look for the section labeled Signature or Identities (depending on your Webmail client). In Roundcube, this is usually found under the Identities tab, while in Horde, it can be found under Mail Preferences. If you’re using SquirrelMail, there is typically a Personal Information section where you can set up your signature.
Step 4: Create Your Signature
In the signature settings section, you will see a text box where you can input your signature. Here are a few things to include:
- Your Name: Use your full name or the name you want recipients to see.
- Job Title: Include your professional role or position.
- Company Name: If you’re sending work-related emails, include your company name.
- Contact Information: Add your phone number, alternate email, or office address.
- Social Media Links: You can also include icons or links to your professional social media profiles like LinkedIn.
- Legal Disclaimer: If required, add any legal disclaimers for your business.
Many Webmail interfaces allow you to format your signature. Use bold, italics, different font sizes, or even include a small company logo or a relevant image.
Step 5: Save the Signature
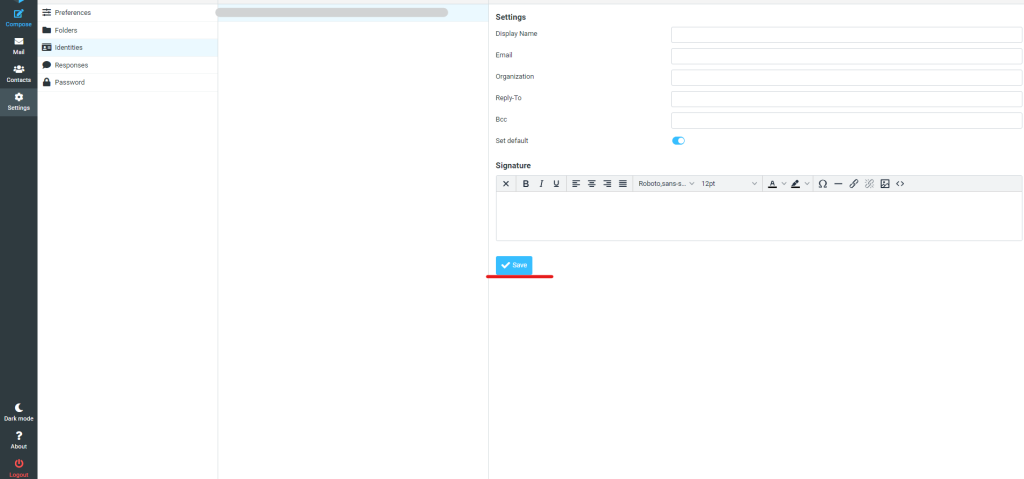
After creating your signature, ensure that you save it. Click Save Changes or Update (depending on your Webmail interface). Your signature is now ready to be automatically included in every email you send.
Step 6: Test Your Signature
Before sending official emails, send a test email to yourself or a colleague to ensure that your signature appears correctly. Make sure that any links or images in the signature are functioning as expected.
How to Add an HTML Signature in Webmail
If you want a more professional-looking signature with custom fonts, colors, and images, you may want to use HTML. Here’s how to add an HTML signature in Webmail:
- Prepare Your HTML Signature: You can create an HTML signature using an HTML editor or generator.
- Access the Signature Settings: In the Webmail settings, look for the HTML editor option or toggle to switch to HTML mode.
- Paste Your HTML Code: Paste the HTML code into the signature box. Make sure the images and links are hosted online so they will load properly.
- Save and Test: Save the HTML signature and test it by sending yourself an email to ensure it looks right in the recipient’s inbox.
Tips for Creating a Good Email Signature
- Keep it Simple: A good signature should be clear, concise, and free from excessive information.
- Limit the Use of Images: While images like a company logo can enhance your signature, be mindful that some email clients block images by default.
- Test Across Devices: Make sure your signature looks good not only on desktop email clients but also on mobile devices.
- Don’t Overdo the Links: While it’s fine to add a few relevant links (like to your website or social media profiles), adding too many can make your signature look cluttered.
Conclusion
Adding a signature in Webmail is an easy and effective way to ensure that your emails have a professional appearance. By following the steps in this guide, you can set up a personalized signature that includes all your essential contact information, branding elements, and any necessary legal disclaimers.
Make sure to keep your signature up to date, especially if your contact details change. A professional email signature can make a big difference in how your communications are perceived.
If you have any questions or need further assistance with adding a signature in Webmail, feel free to reach out to your hosting provider or IT support.