

Managing IP addresses for cPanel accounts in WHM (Web Host Manager) is a crucial task for hosting providers and server administrators. Changing a cPanel account’s IP address can be necessary for various reasons, such as upgrading the server, improving site performance, or accommodating specific customer requirements. This guide will walk you through the steps to change the IP address of a cPanel user account in WHM.
Table of Contents
Why Change the IP Address of a cPanel Account?
There are several reasons why you might need to change a cPanel account’s IP address:
- Security Enhancements: Moving an account to a new IP address can help prevent certain security issues.
- Upgrading to a Dedicated IP: Some accounts might need a dedicated IP address, especially if they’re using SSL certificates.
- Server Maintenance or Migration: During server changes, IP addresses might be reassigned to ensure optimal resource distribution.
Step-by-Step Guide to Change the IP Address of a cPanel Account in WHM
Step 1: Log in to WHM
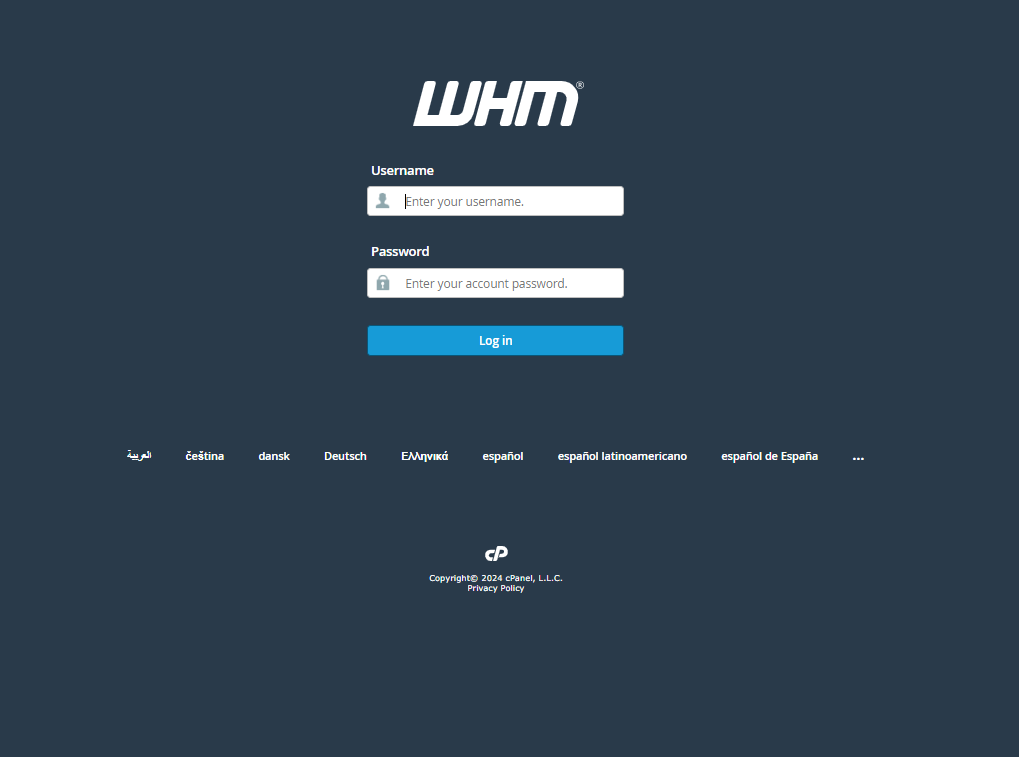
- Open your browser and enter your WHM login URL (usually
https://your-server-ip:2087). - Enter your username and password with root privileges.
Step 2: Navigate to the “List Accounts” Section
Once logged in:
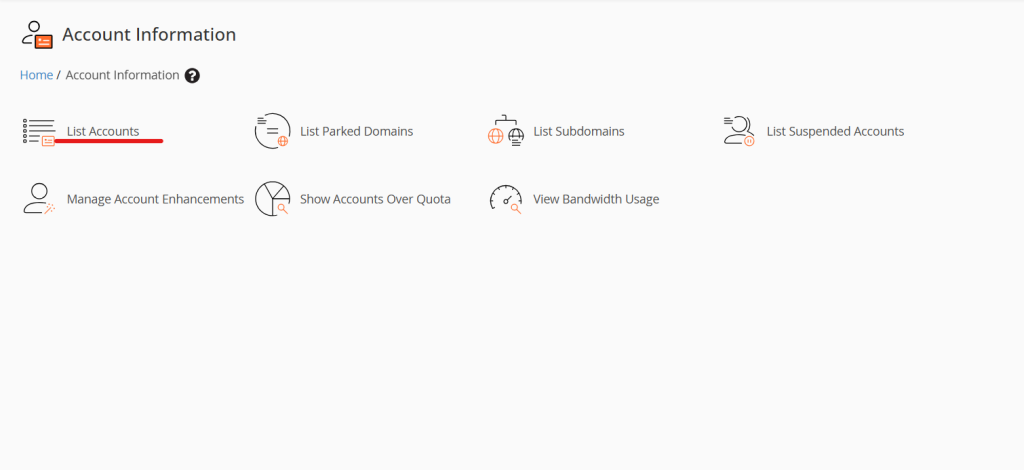
- On the WHM main dashboard, go to the Account Information section.
- Select List Accounts. This will display a list of all active cPanel accounts on the server.
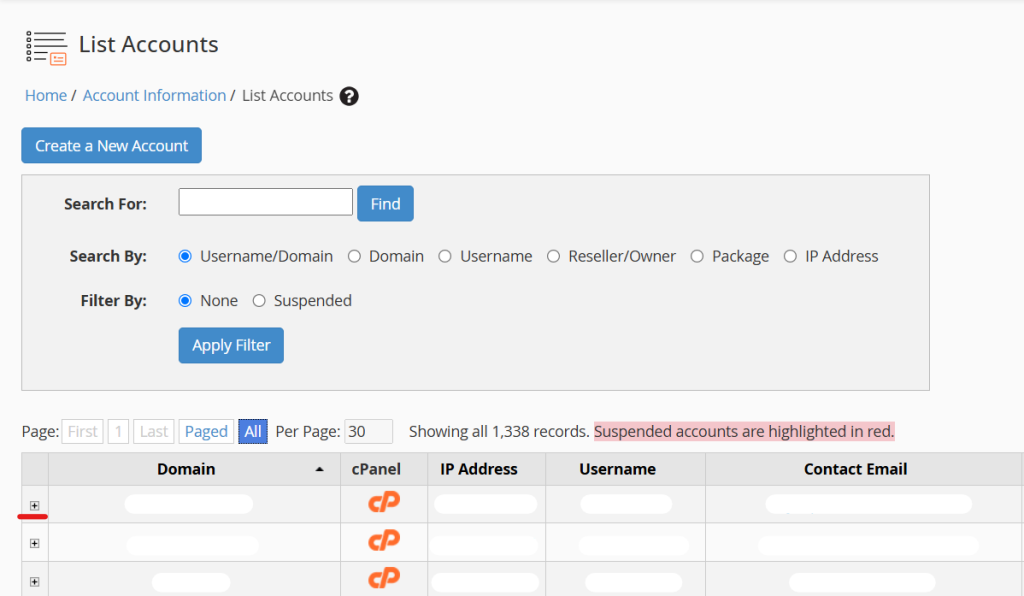
Step 3: Locate the cPanel Account
Find the account you wish to change the IP address for. You can search for it by username or domain name in the search box provided.
Step 4: Access the “Change IP Address” Feature
- Once you’ve located the account, look for the + icon or Actions dropdown next to the account.
- Click on Change IP Address. This option will take you to the IP configuration settings for the selected account.
Step 5: Select a New IP Address
- A list of available IP addresses on the server will appear.
- Select the new IP address you wish to assign to the cPanel account.
- Click Change to confirm your selection.
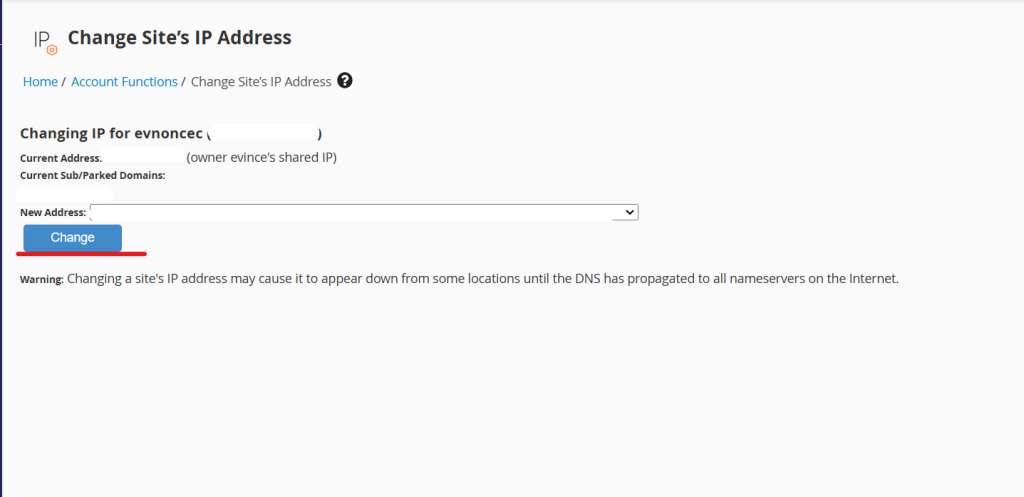
Note: Ensure that the IP address you choose is not already assigned to another account unless it’s intended to be shared.
Step 6: Verify the Change
After you confirm the IP change:
- WHM will apply the changes automatically, which may take a few moments.
- Once complete, return to the List Accounts page to verify the IP address has been updated.
Step 7: Update DNS Records
If your domain’s DNS is managed externally, log in to your DNS provider’s portal and update the A records to point to the new IP address. If your DNS is hosted on the same WHM server, it should automatically update with the new IP address.
Important Considerations
Changing the IP address of a cPanel account may affect the following:
- SSL Certificates: If the site uses a dedicated IP SSL certificate, you may need to reinstall or reissue it to work with the new IP address.
- Email Delivery: Email servers may require some time to recognize the IP change, which may temporarily impact email delivery.
- Propagation Time: DNS propagation may take up to 24-48 hours, depending on the TTL settings.
Troubleshooting Tips
- IP Address Already in Use: Ensure the selected IP is not already assigned to another exclusive service unless configured for sharing.
- Access Issues Post-Change: If users cannot access the site after the IP change, check for DNS propagation delays or reconfigure any external DNS records.
- SSL Configuration Errors: Verify and reinstall the SSL certificate if needed, especially when switching from a shared to a dedicated IP.
Conclusion
Changing the IP address of a cPanel account in WHM is a straightforward process that can provide enhanced performance, security, and flexibility. By following the steps outlined in this guide, you can successfully reassign an IP address to a cPanel account, ensuring seamless transitions and minimal disruptions. Taking a few minutes to verify SSL, DNS settings, and email delivery will help to ensure everything runs smoothly for the user post-change.